
Remove White Background from a Signature in Word
Prepare a transparent signature PNG, insert it into Word, adjust its size and text wrapping, and troubleshoot white boxes after saving.
To remove the white background from a signature in Word, first prepare a transparent PNG, then insert that file as a picture. This keeps the same reusable signature available for other documents and gives you a chance to inspect the handwriting before placing it on the page.
This guide uses desktop Word for Microsoft 365, Word 2024, or Word 2021. You need access to a licensed desktop copy; SignatureClear does not include a Word subscription. Ribbon labels can differ between Windows and Mac. The insertion and wrapping steps below were checked against Microsoft Support on September 6, 2026. The cover is a conceptual illustration of signature placement and text wrapping.
Prepare a signature PNG before opening Word
Start with a clear photo or scan of your signature. Keep the complete handwriting, including the final flourish and any dots. Crop out unrelated text, leaving a little space around the ink.
- Open the signature background remover and sign in.
- Select Upload Your Photo and choose a JPG, PNG, or WebP image. If your scanner produced a PDF, export the signature area as an image first.
- Wait for processing, then compare the result with the original. Check thin strokes as well as the outline.
- Select Download Result and keep the PNG. Do not replace it with a screenshot or a JPG conversion.
New accounts receive 5 one-time sign-up credits, valid for 30 days. A successful removal uses one credit. The allowance does not renew monthly; pricing shows the available plans.
If the source is faint or shadowed, removal may leave a pale border or erase some ink. The transparent signature guide explains how to check the file before you use it.
Insert the transparent signature into Word
Place the cursor near the intended signature area. In Windows Word, choose Insert → Pictures and select the downloaded PNG from your computer. On Mac, use Insert → Pictures → Picture from File. Select the image to access the Picture Format tools. Microsoft documents these paths in its handwritten signature instructions.
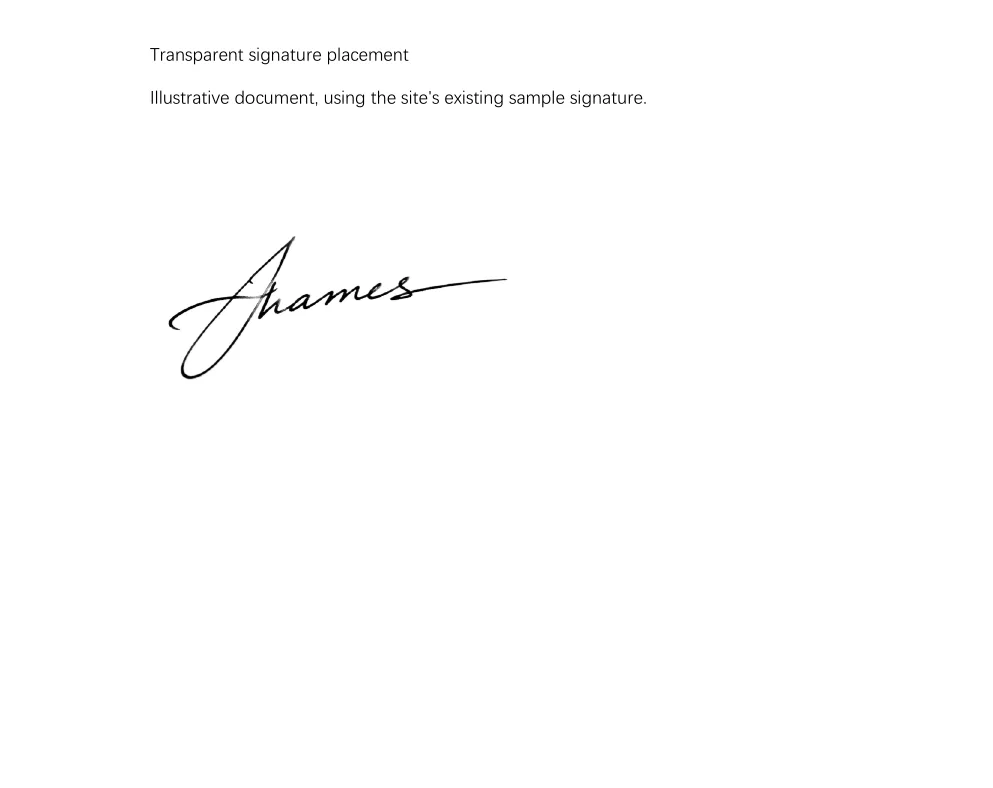
This illustration is an actual document created in desktop Word with the site's existing sample signature, then exported to PDF for this image. It demonstrates placement, not a new background-removal test. The white page alone does not prove that every surrounding pixel is transparent.
Adjust size and text wrapping
Resize using a corner handle so the handwriting keeps its proportions. Start at the size you intend to print or share; an enlarged low-resolution signature can become visibly soft. Crop excess empty space if it makes alignment difficult, but leave every stroke intact.
For a signature on its own paragraph, In Line with Text makes placement predictable: the image moves with that paragraph as text changes. For a layout that needs text beside the image, select the picture's Layout Options and choose an appropriate wrapping style, such as Square. Review Microsoft's picture wrapping guide for the available desktop options.
After changing the wrapping, check the surrounding paragraph and page break. A picture can be transparent yet still occupy a rectangular layout area. That spacing is different from an opaque white box in the image itself.
Find the cause of a remaining white box
Try the PNG over a shaded area in a temporary document. If the area around the ink reveals the shading, transparency is present. If a solid rectangle covers it, check the source file you inserted.
| What you see | What to check |
|---|---|
| A solid white rectangle | You may have inserted the original photo or a JPG copy. Reinsert the downloaded PNG. |
| A narrow pale outline | Some paper pixels may remain. Inspect the output and consider a clearer source. |
| Blank space around the signature | Crop unused margins and review text wrapping. |
| Missing dots or fine strokes | Compare with the original; a new scan or photo may be necessary. |
Changing the transparency of the whole picture also fades the ink. It does not selectively remove paper. Keep an untouched copy of the downloaded PNG while experimenting with Word's picture controls.
Save and reopen the document
Save the editable document as DOCX. If you export a PDF, reopen that PDF and inspect the signature at ordinary reading size and at a closer zoom. Check the page number, position, and edges; the editable Word view is not the final file your recipient will see.
Keep the original PNG separately. For placing it directly into an existing PDF, follow the transparent signature PDF tutorial.
Frequently asked questions
Can I use a JPG signature in Word?
Word can insert it, but JPG does not preserve transparency. Use PNG when the area around the handwriting needs to show the document underneath.
Why does the signature move when I edit text?
An inline picture follows its paragraph. Review the picture's wrapping and position settings, then check the layout after adding or removing text.
Does a transparent PNG guarantee a clean edge?
No. A file can contain transparent pixels and still have pale residue or missing ink. Compare the output with the original before using it.
Can I keep the file for another document?
Yes. Keep the PNG and insert that file again. Repeated screenshots or format conversions can introduce a background or reduce detail.
Finish with a readable signature
Remove the white background from your signature before placing it in Word, keep the PNG, and inspect the saved document. Prepare your signature when the source photo or scan is ready.
Author

Categories
More Posts
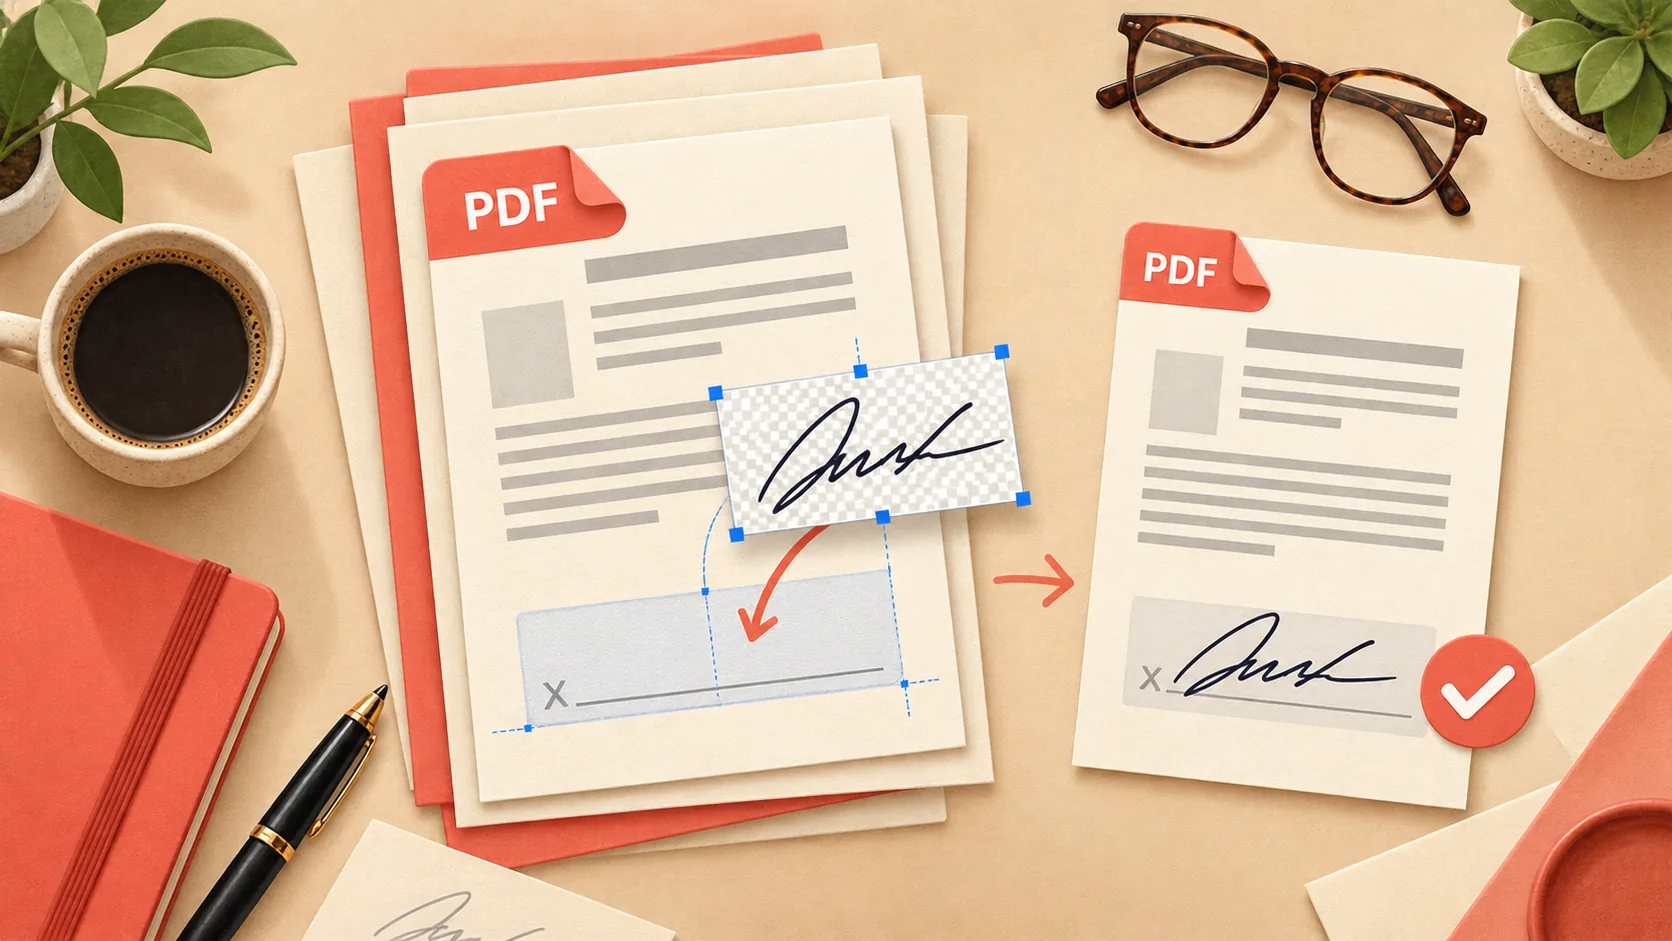
How to Add a Transparent Signature to a PDF
Add a transparent signature PNG to a PDF with Adobe Acrobat Reader desktop, position it, save a copy, and check for white boxes or missing strokes.
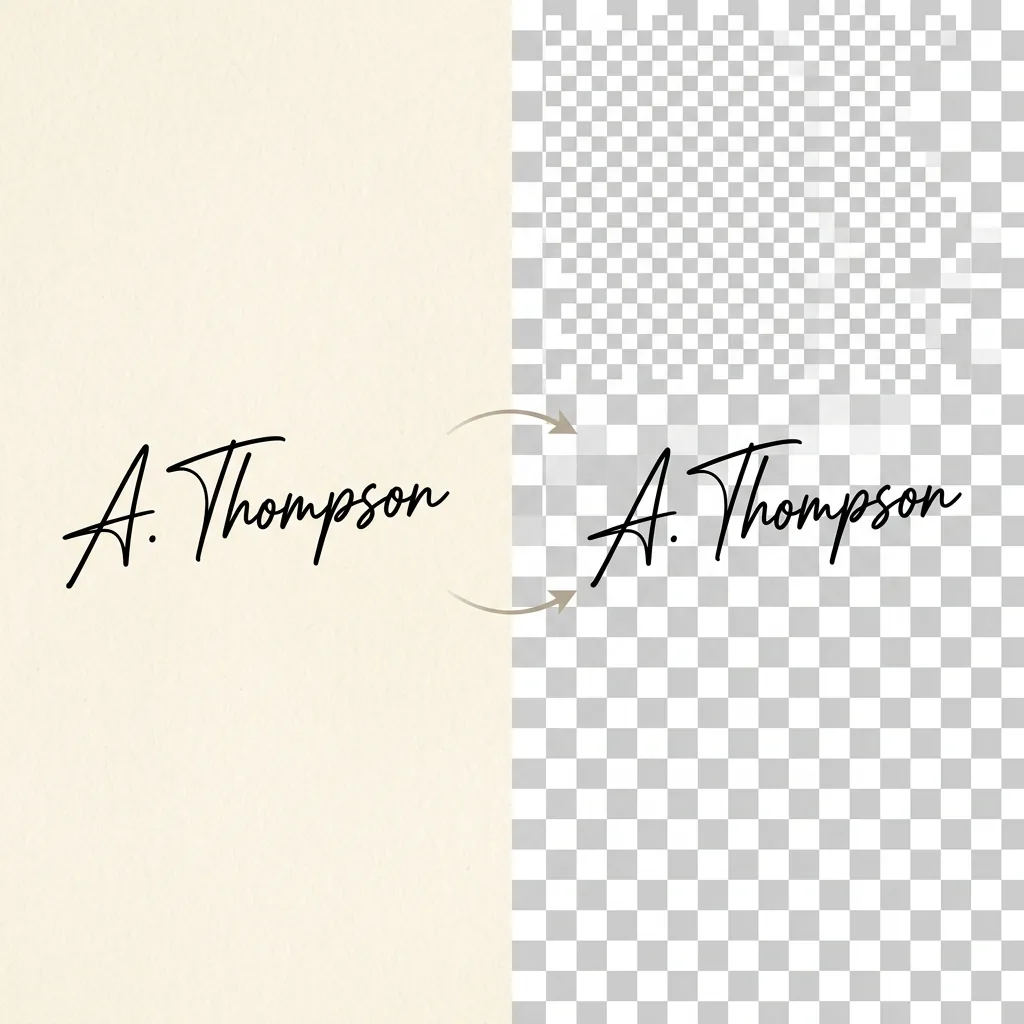
How to Make Your Signature Transparent
Turn a signature photo into a transparent PNG, check the edges, and avoid the white box when you insert the result into a document.
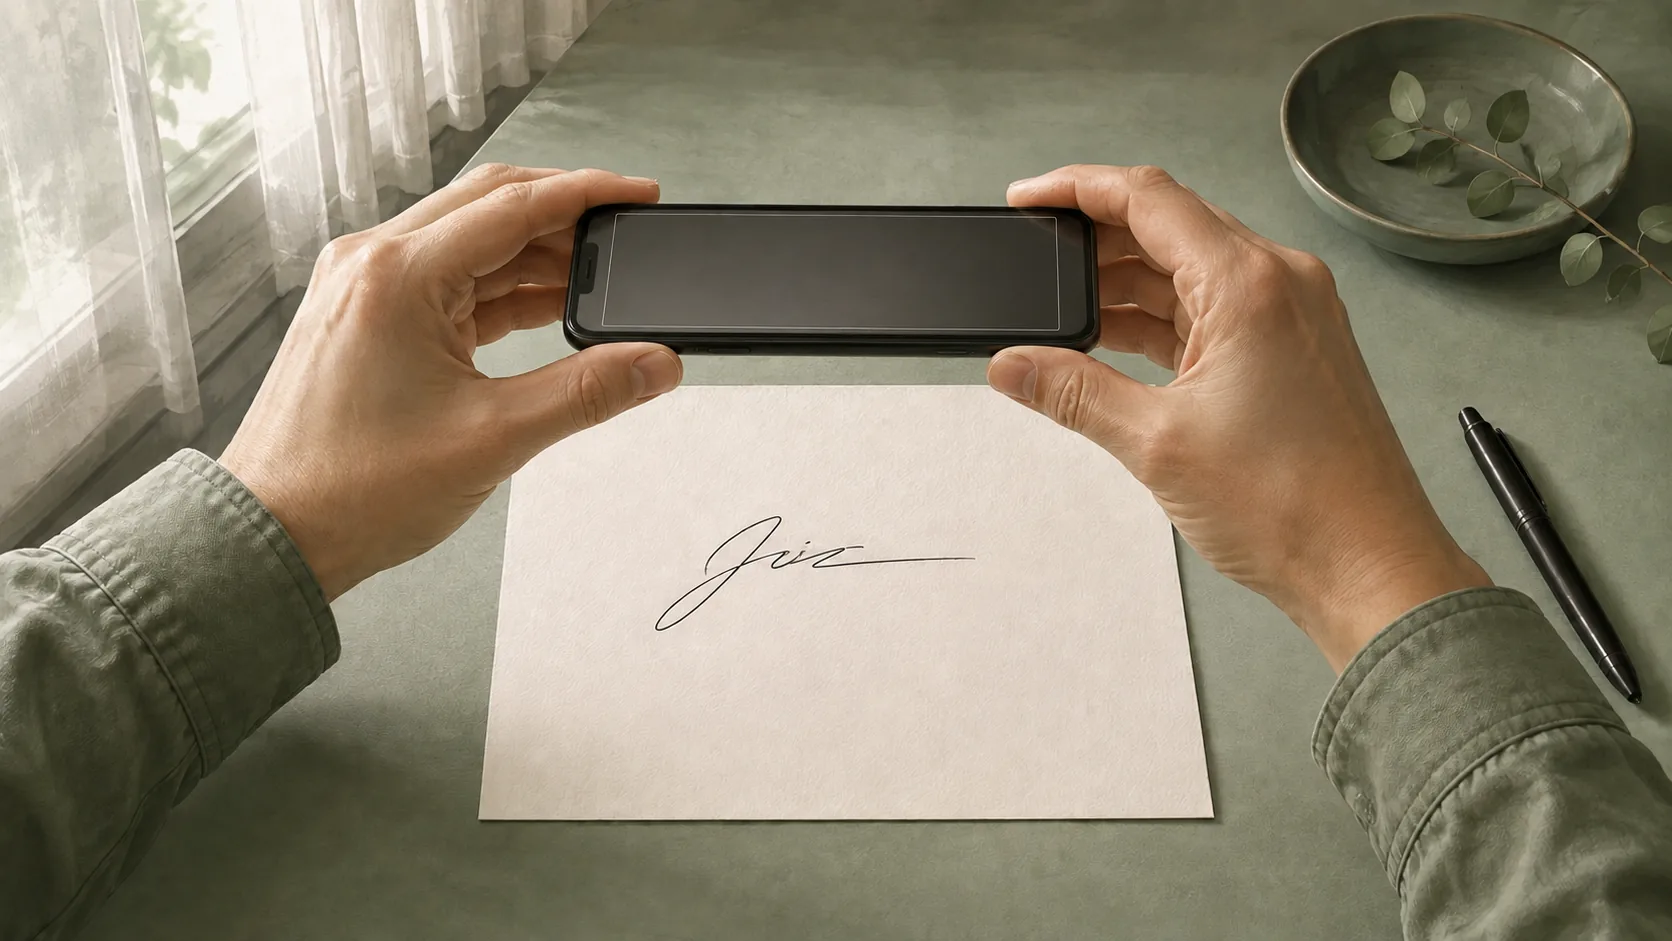
How to Remove the Background from a Signature Photo
Photograph a signature with even light, crop safely, remove the paper background, and check the transparent PNG for faint or missing pen strokes.
Newsletter
Join the community
Subscribe to our newsletter for the latest news and updates